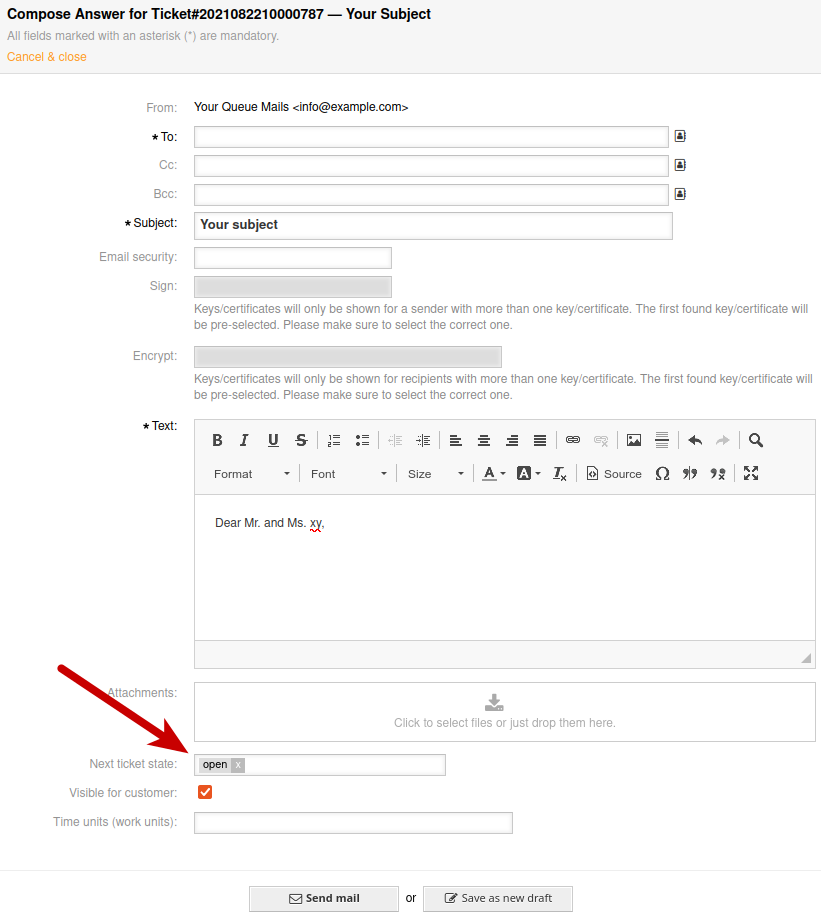
In this article you will learn how to configure your OTRS, Znuny or OTOBO instance for your default Next ticket state. It depends from which screen or operation you come from and thus the configuration is not very clean and clear. Read on to learn more
Screens for answer, forwarding and sending new tickets
In the screen, which is getting displayed after you click on Reply or Reply All you see typically this screen:

and your URL contains one of those:
Action=AgentTicketCompose (ticket reply, reply all)
Action=AgentTicketForward (ticket forward)
Action=AgentTicketEmailOutbound (ticket e-mail outbound)
Action=AgentTicketEmail (new ticket)
The screens look all nearly the same. So not all screens are provided here as screenshots.
A good practice here is to set it to a reasonable Pending state or to close the ticket here. But it really depends on your business. And if this is not clear we may offer consultancy here to help you to build a very good business process template for your team!
How to configure the different sections?
Depending on your Screen you need a different configuration
Configuring Reply / Reply All Screen in Ticket view screen
In the ticket view screen here you can click on Reply or Reply-All. To configure the default / pre-selected next ticket state of this screen you have to configure this system configuration:
Ticket::Frontend::AgentTicketCompose###StateDefault
Configuring Forward Screen in Ticket view screen
In the ticket view screen here you can click on Forward. To configure the default / pre-selected next ticket state of this screen you have to configure this system configuration
Ticket::Frontend::AgentTicketForward###StateDefault
Configuring new outbound e-mail in Ticket view screen
This entry is a bit hidden in the ticket view screen under the menu Communication and here you will find E-Mail Outbound
Ticket::Frontend::AgentTicketEmailOutbound###StateDefault
Configuring New E-Mail Ticket main menu
Ticket::Frontend::AgentTicketEmail###StateDefault
